My new sewing machine was an open box item from amazon ($30 less than new) rated “used – like new”. It didn’t work when it arrived, which is pretty normal for their open box stuff as they don’t seem to do full functional tests, just cosmetic assessments. They have a fantastic returns policy so no big deal, but I didn’t want to wait a couple days for a new one so I figured I’d fix it.
Brother doesn’t make service manuals available to the public
Well, this is ridiculous. You get an “operation manual” in the box which doesn’t deal with parts diagrams or repairs at all.
I’m a believer in ifixit’s idea that “if you can’t fix it, you don’t own it“- and I know that Brother has a pdf service manual floating around, but it’s proprietary to “trained repair techs” and not available to simple machine owners.
Oh well, can’t be that hard to fix
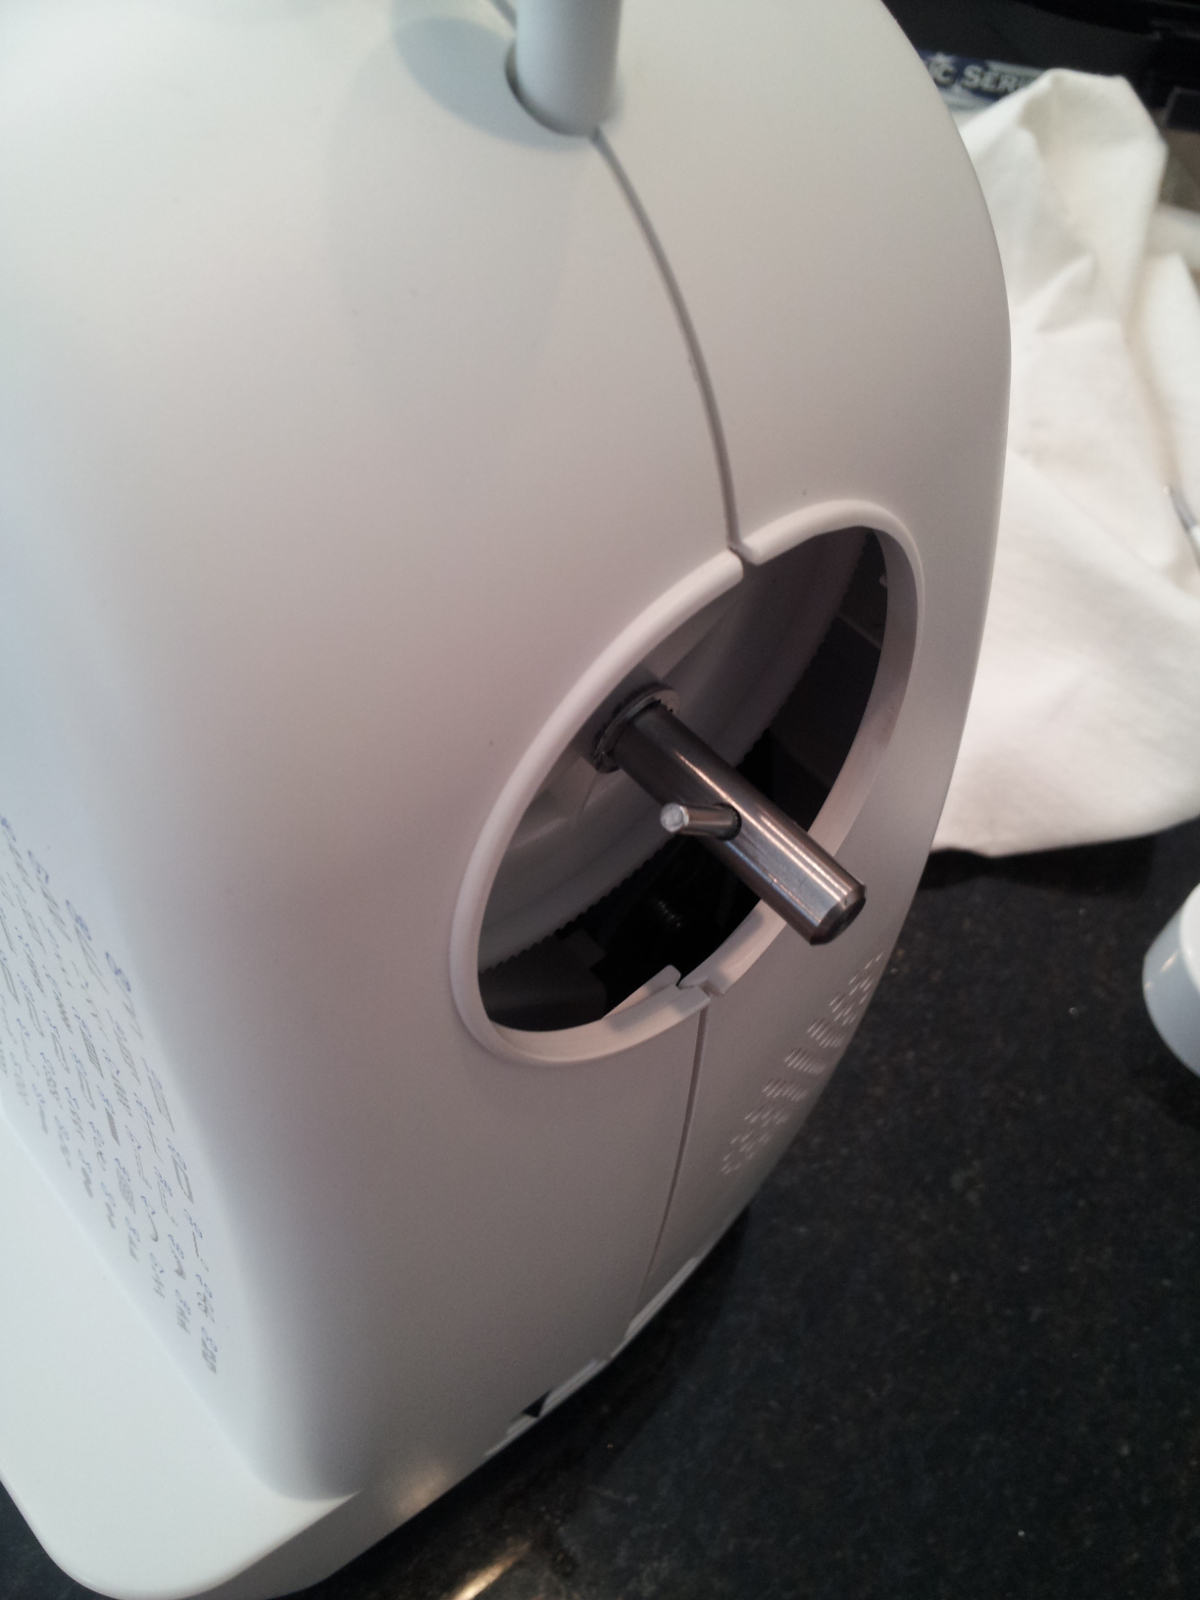
My machine was making a whirring noise when I pressed the pedal, as though a belt was slipped and throwing error code E6 (thread jammed and motor speed out of bounds). This is not the same whirring it makes when the bobbin winder is clicked over to bobbin wind mode. So, I took off the handwheel (it slips right off, just pull) and peeked inside.
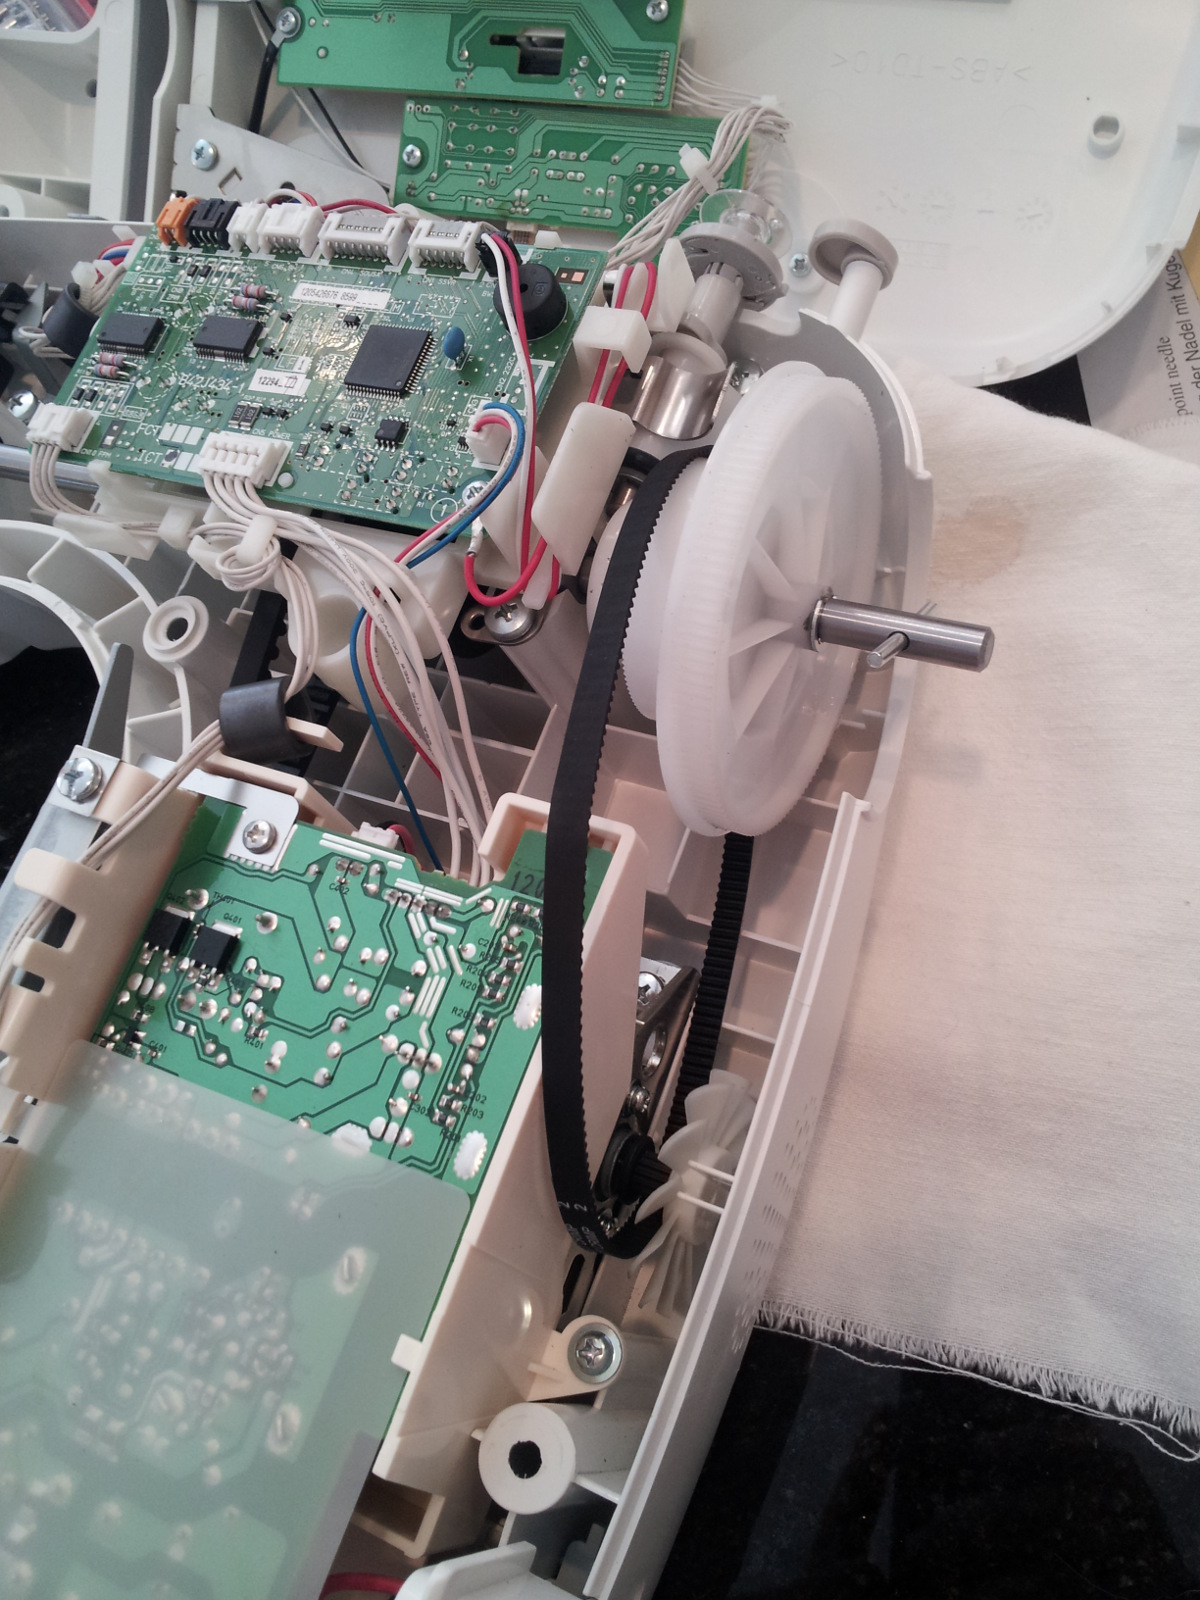
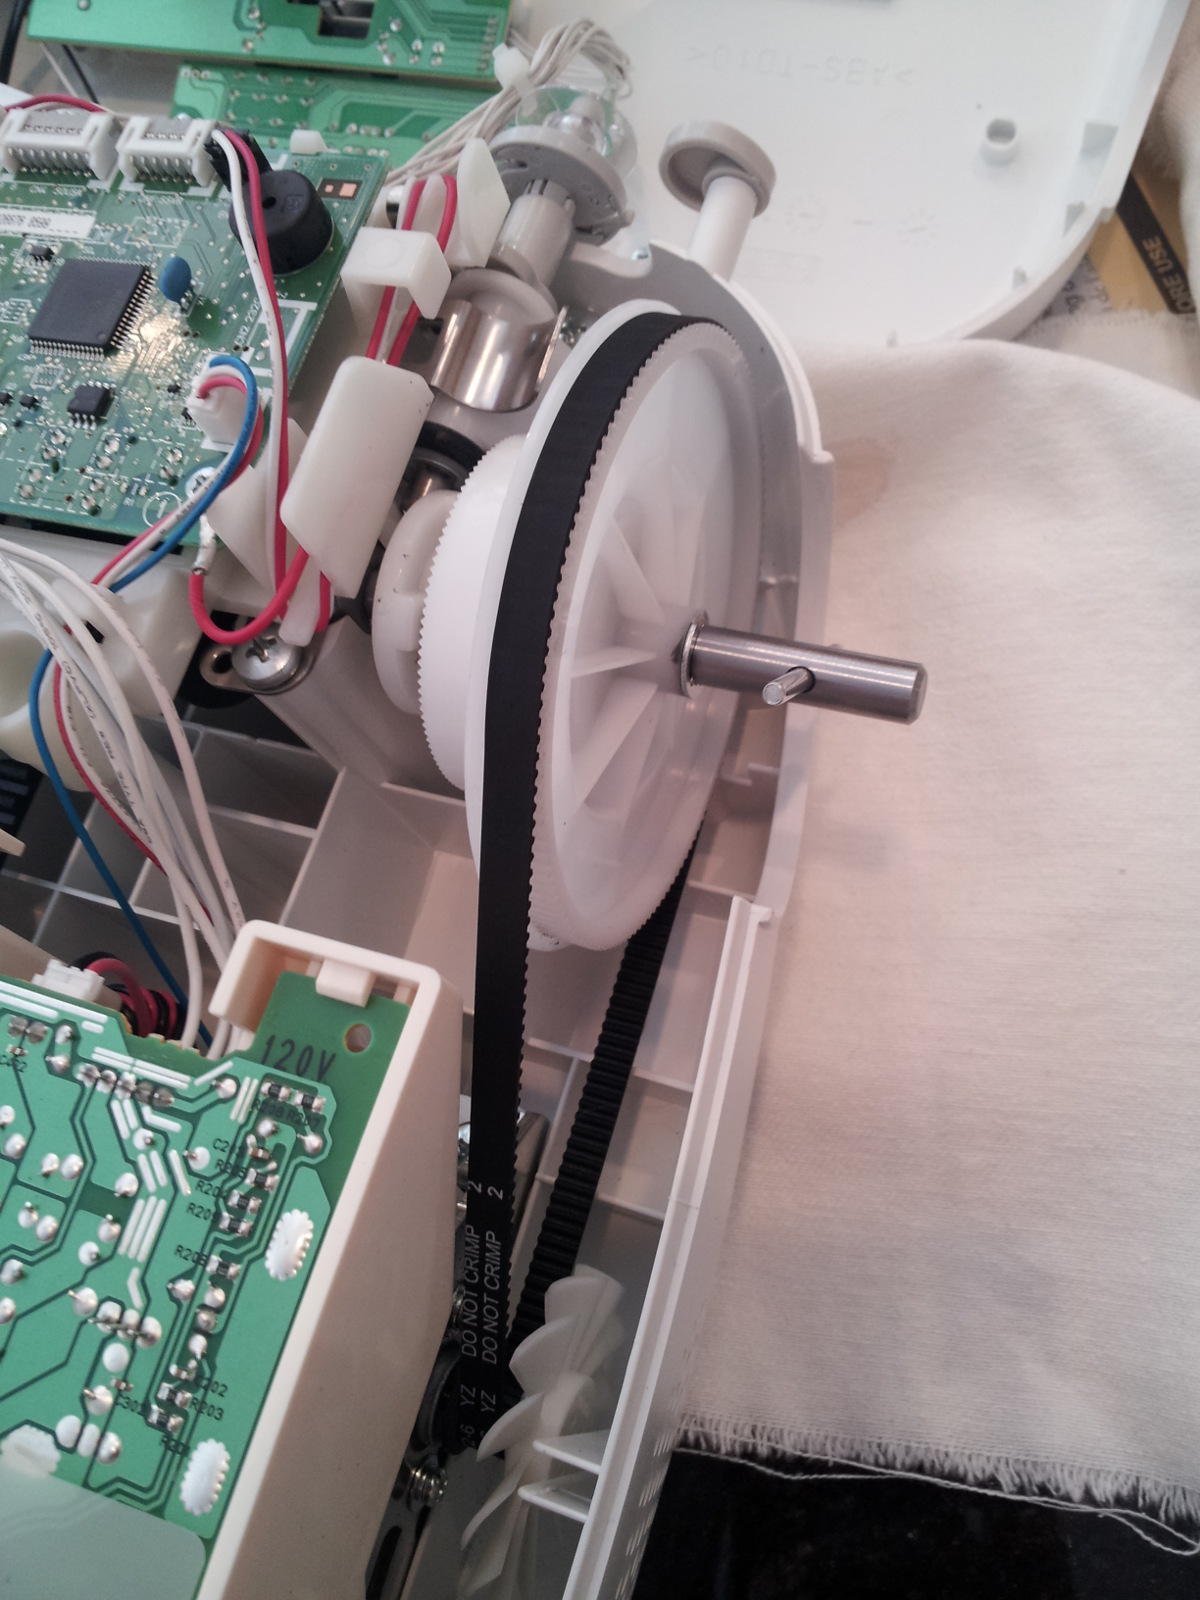
The picture doesn’t show it, but I could clearly see that the drive belt was off the big white gear on the handwheel shaft. Easy fix, if I can figure out how to take it apart.
Disassembly
It turns out that there are eight screws that hold the two halves together, and that all of the internal parts remain captive to one half or the other so it’s very easy to reassemble.
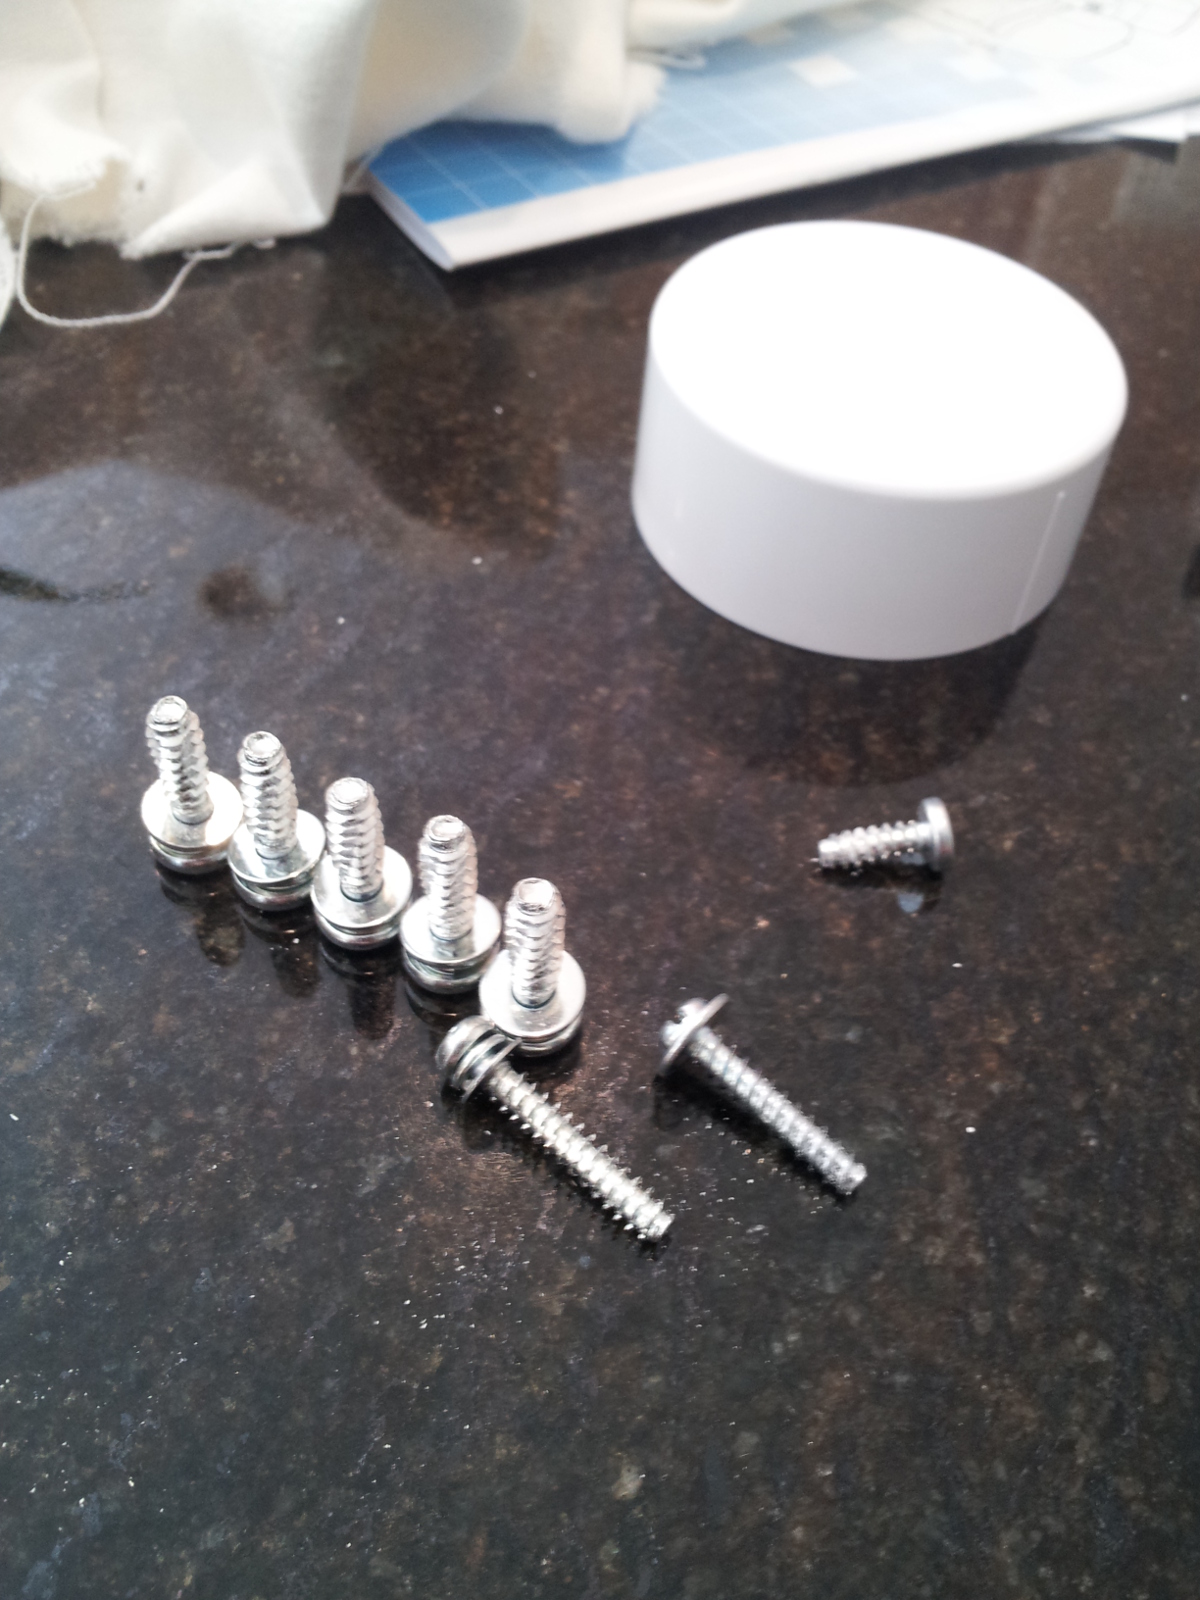
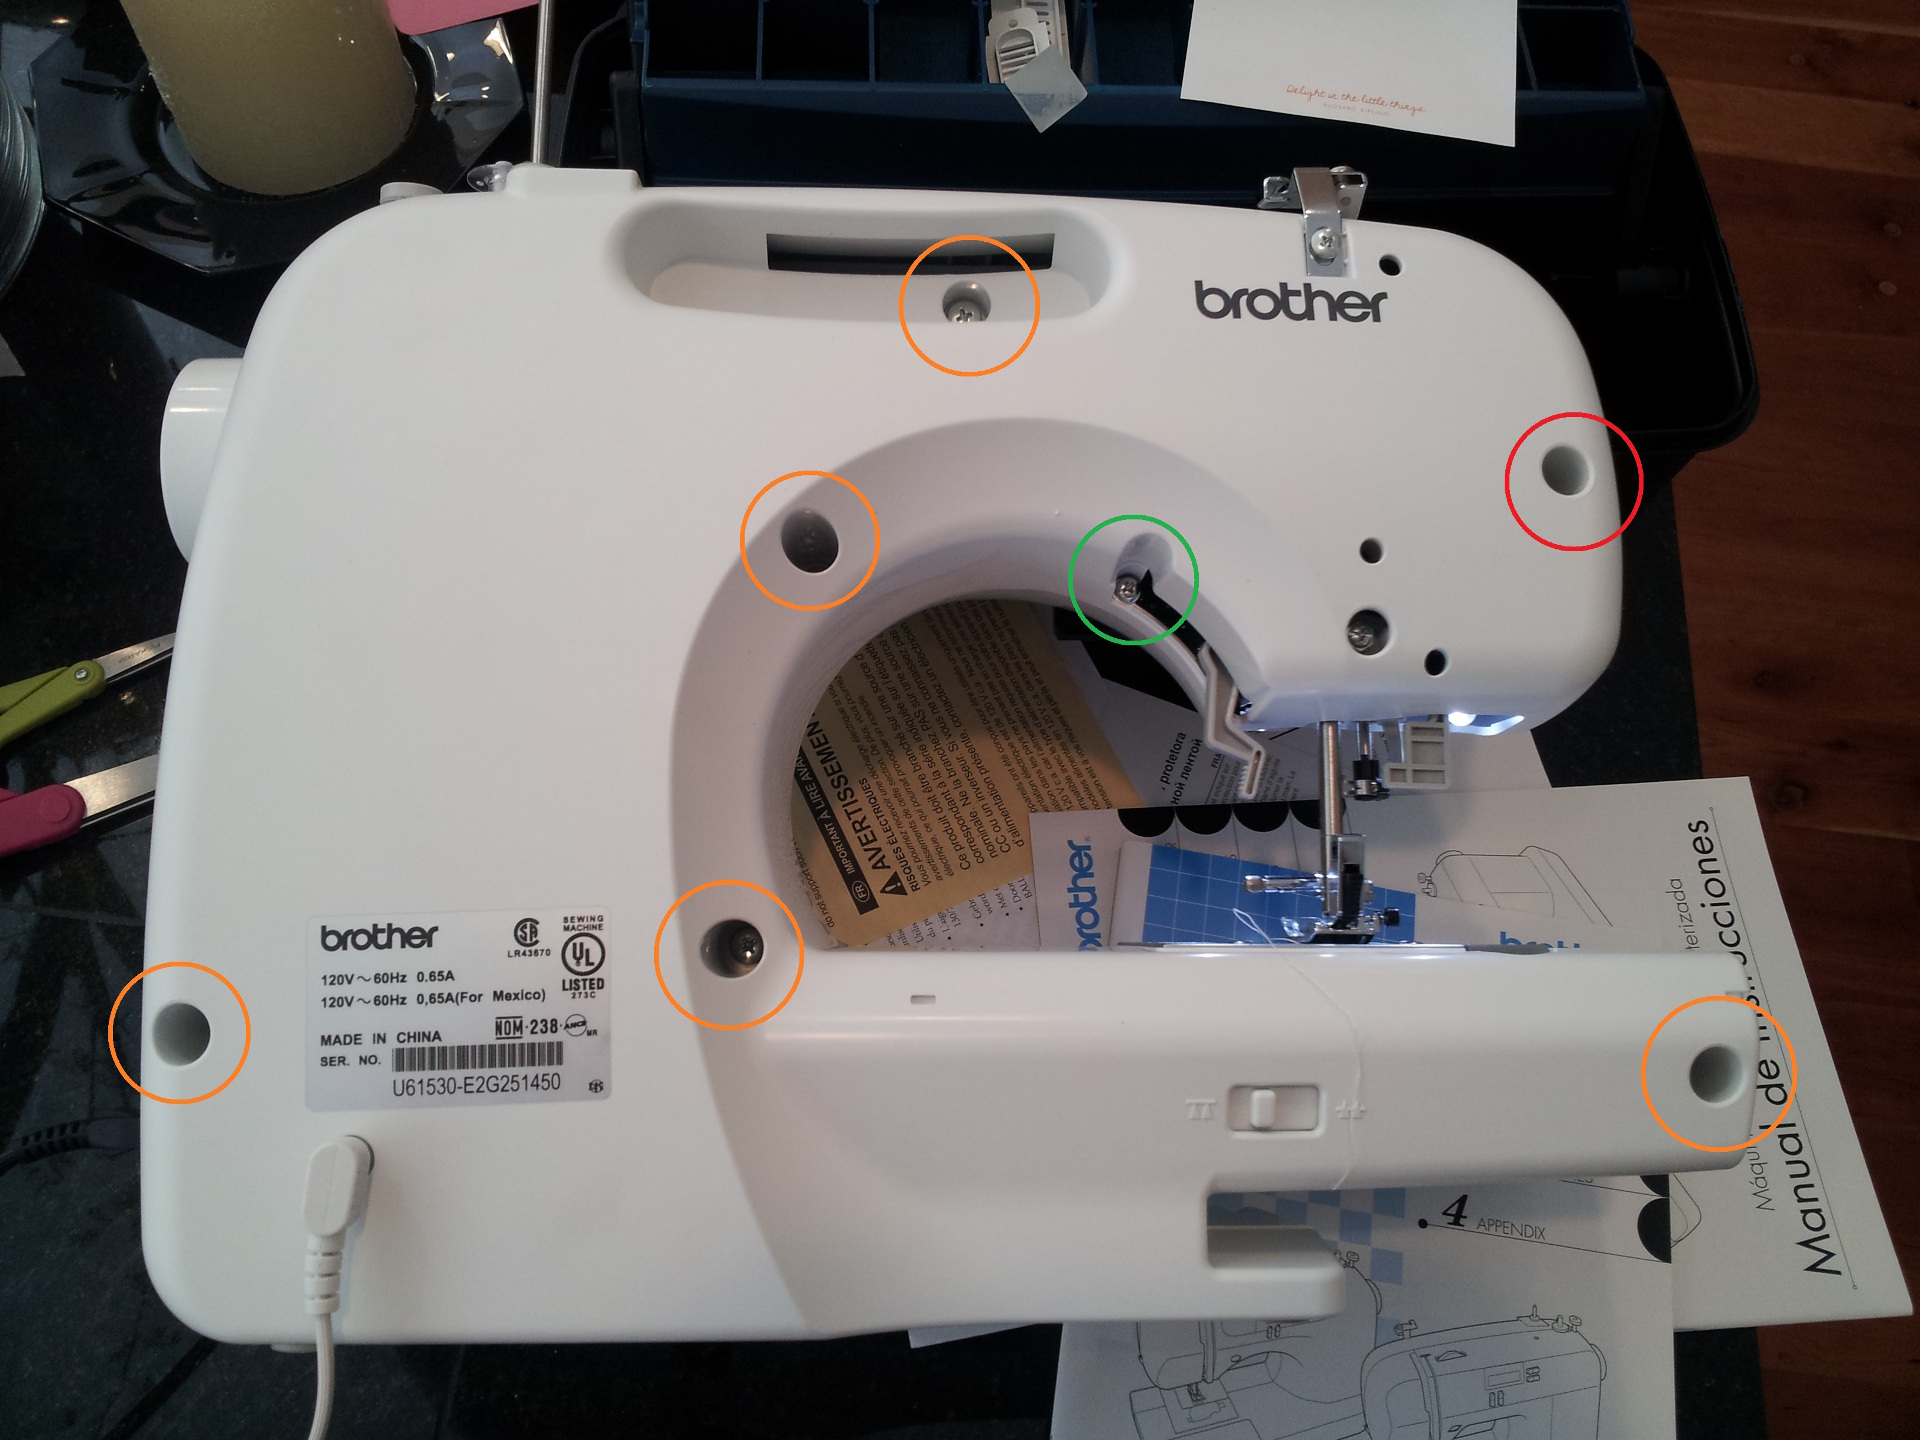 The five in orange are all the same. Green, red and blue are different screws, so remember which goes with which hole. The seven above are on one side, and the eighth (below) is under the plastic over on the front of the other side. Remove the cover and then the screw:
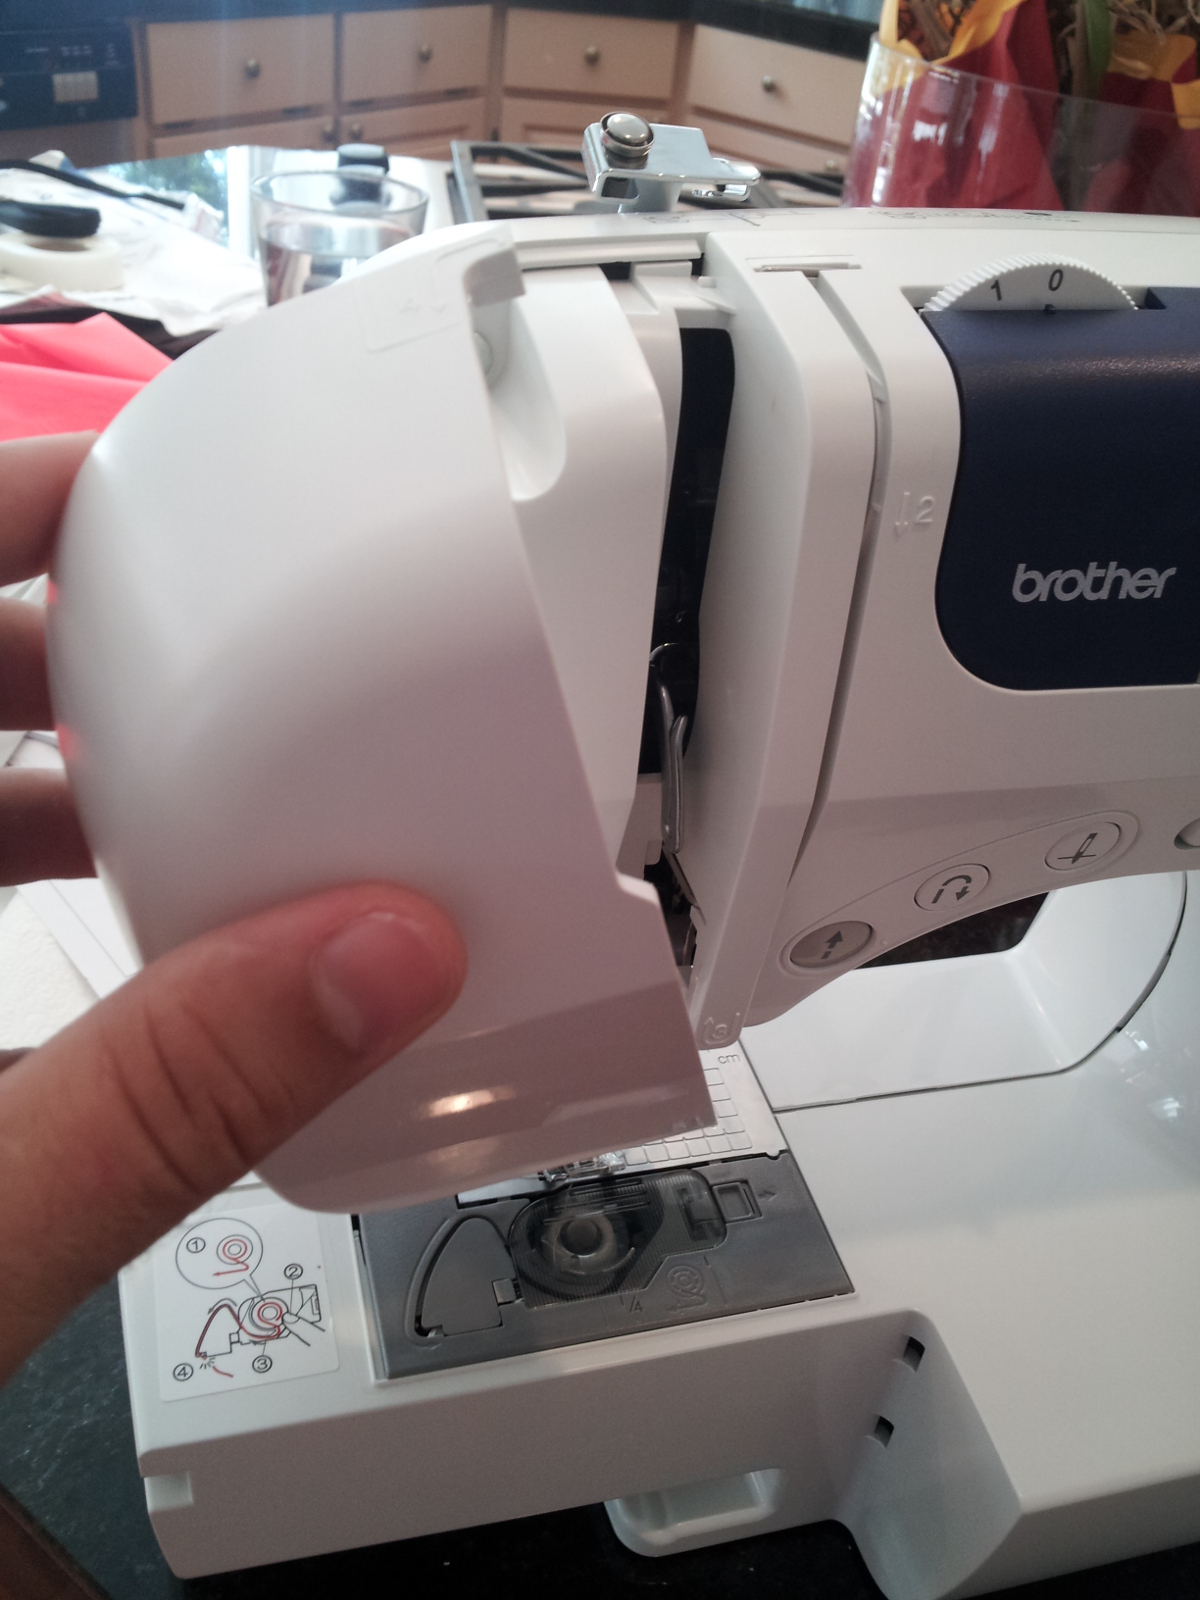
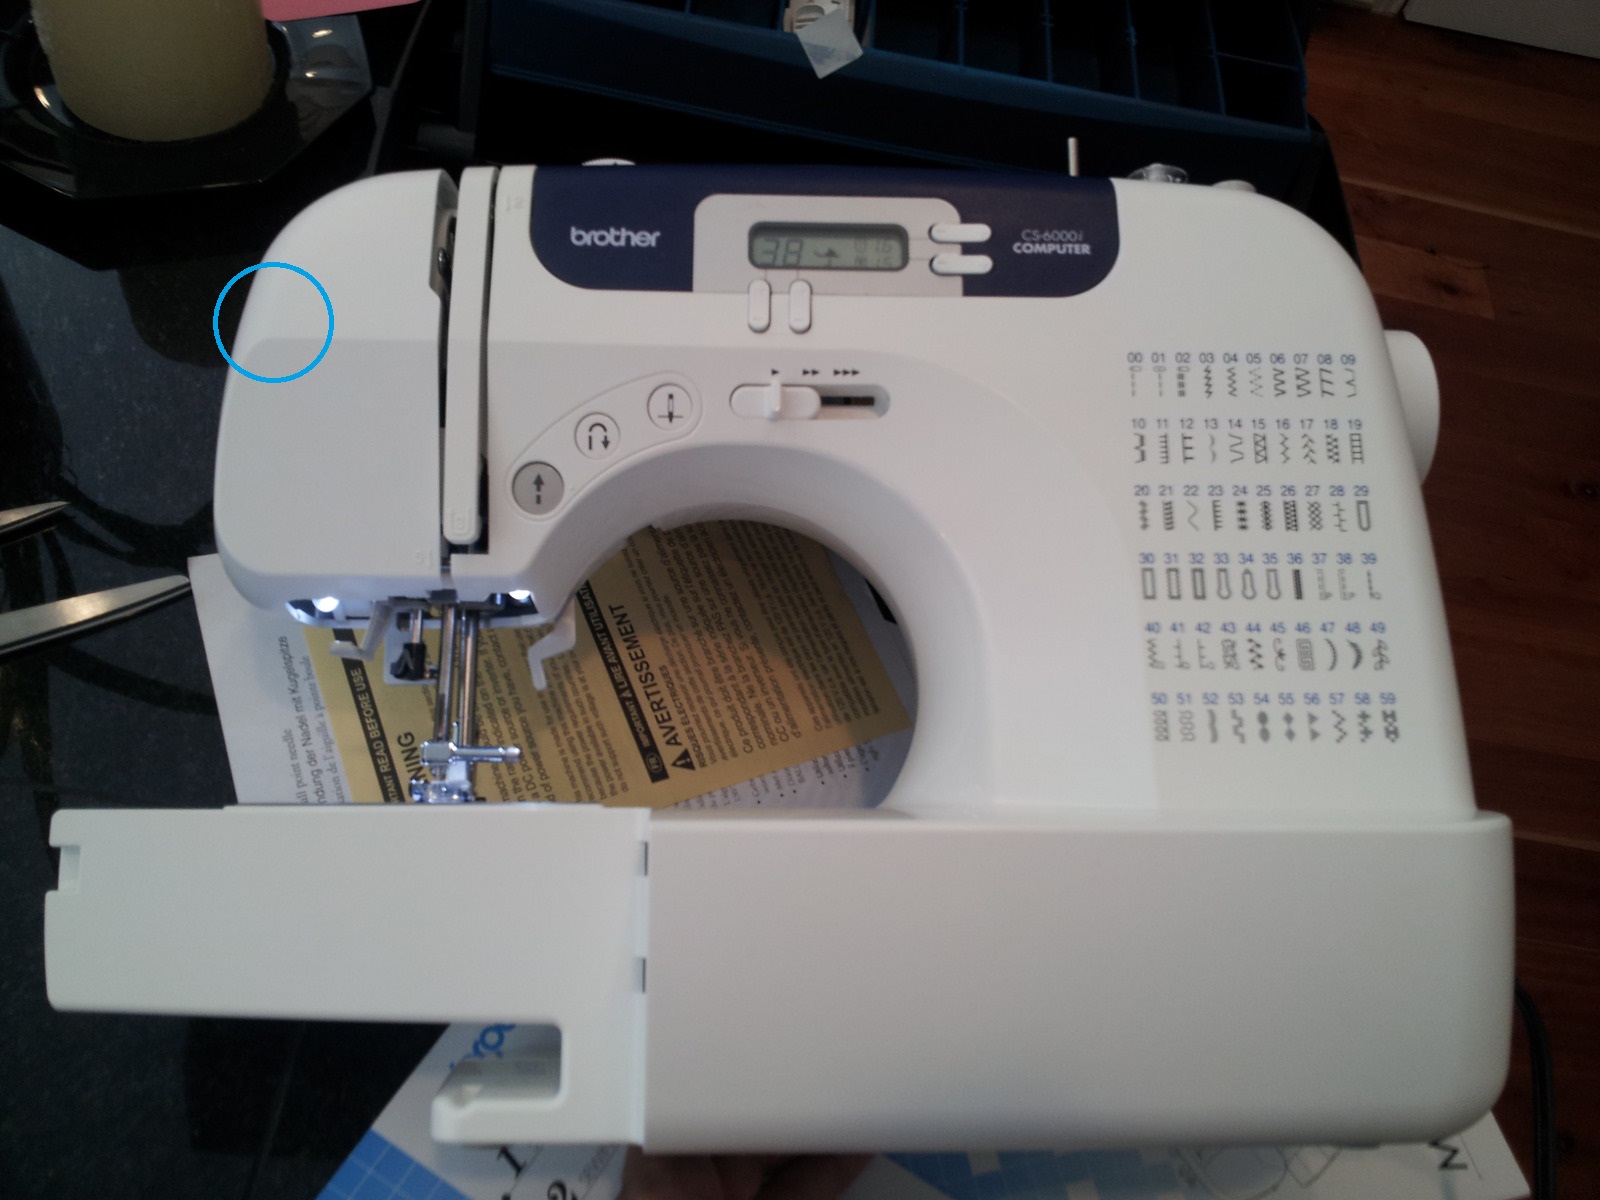
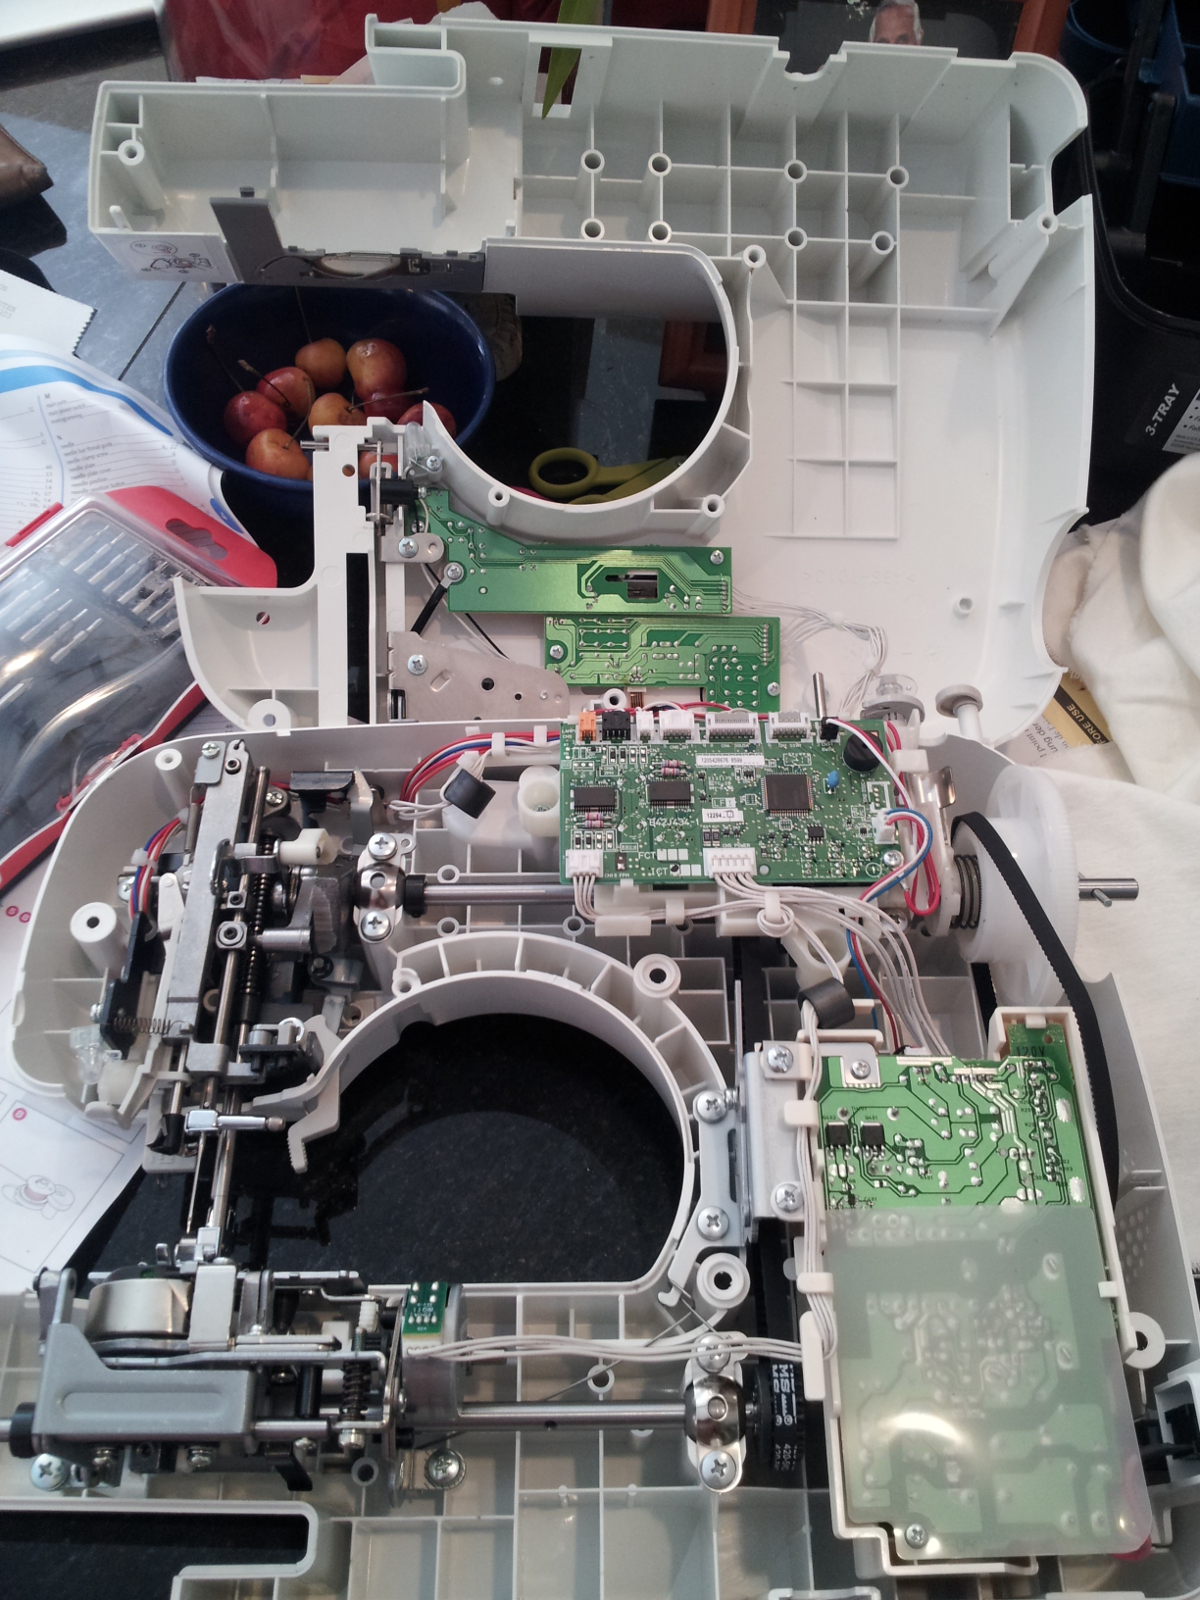
After the eight screws are out the two halves will come apart easily. Note that they’re connected by some wires at the top.
Looks neat. The belt on the right side is obviously the problem. Just grab it and pull it back into place, it’s not under high tension so it doesn’t take anything fancy.
I guess if your machine is dusty or needs oil now is a good time, otherwise reassemble everything. Route the wires at the top back the way they were if you pulled it all the way apart, and note the three odd screws.
